WEEKS 12-24
Agonising over the exact placement of the island

Structural steels which support the first floor left two metal legs standing off-centre in the kitchen-diner. Perfect for a statement fireplace!
This week is all about the kitchen-diner. The kitchen-diner is always the heart of our home because we’ve always created open plan houses. In this house though I’ve gone one better and put a fire in the kitchen-diner so it feels like a proper living space.
To get a true open plan feel to this kitchen-diner we had to remove the old external wall of the house. (See Blog post 2 for that little demolition.) Because this was a supporting wall we had to use chunky steels to hold up the ceiling. But because it extended such a long way we had to use metal frames instead of simple beams. The structural engineers design used 2 rectangular metal frames in place of the wall. This left me with 2 legs of the frames standing off-centre in the kitchen-diner like goal posts. Perfect I thought to put a statement fireplace between! The fire I’ve gone for is a glass walled DRU-fire. It’s a German manufacturer who makes architectural statements out of their fireplaces and I love the look of them.
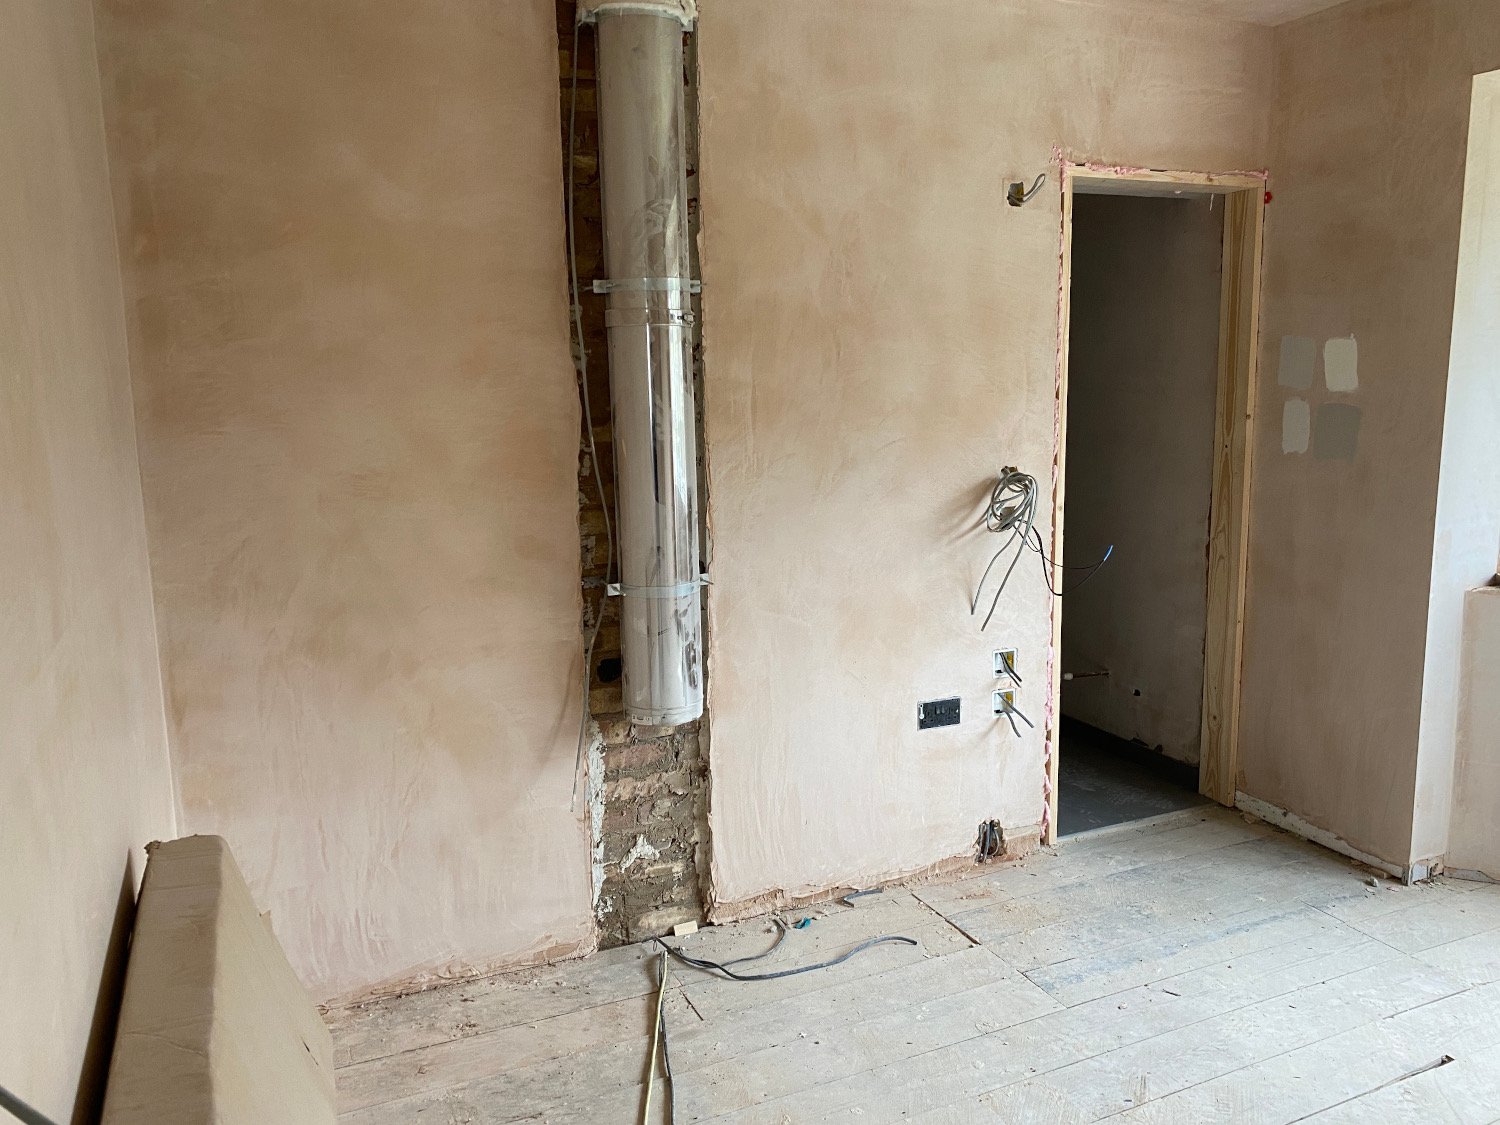
The flue for the kitchen-diner fire passes through the guest bedroom. It travels up through the loft to vent out of the roof
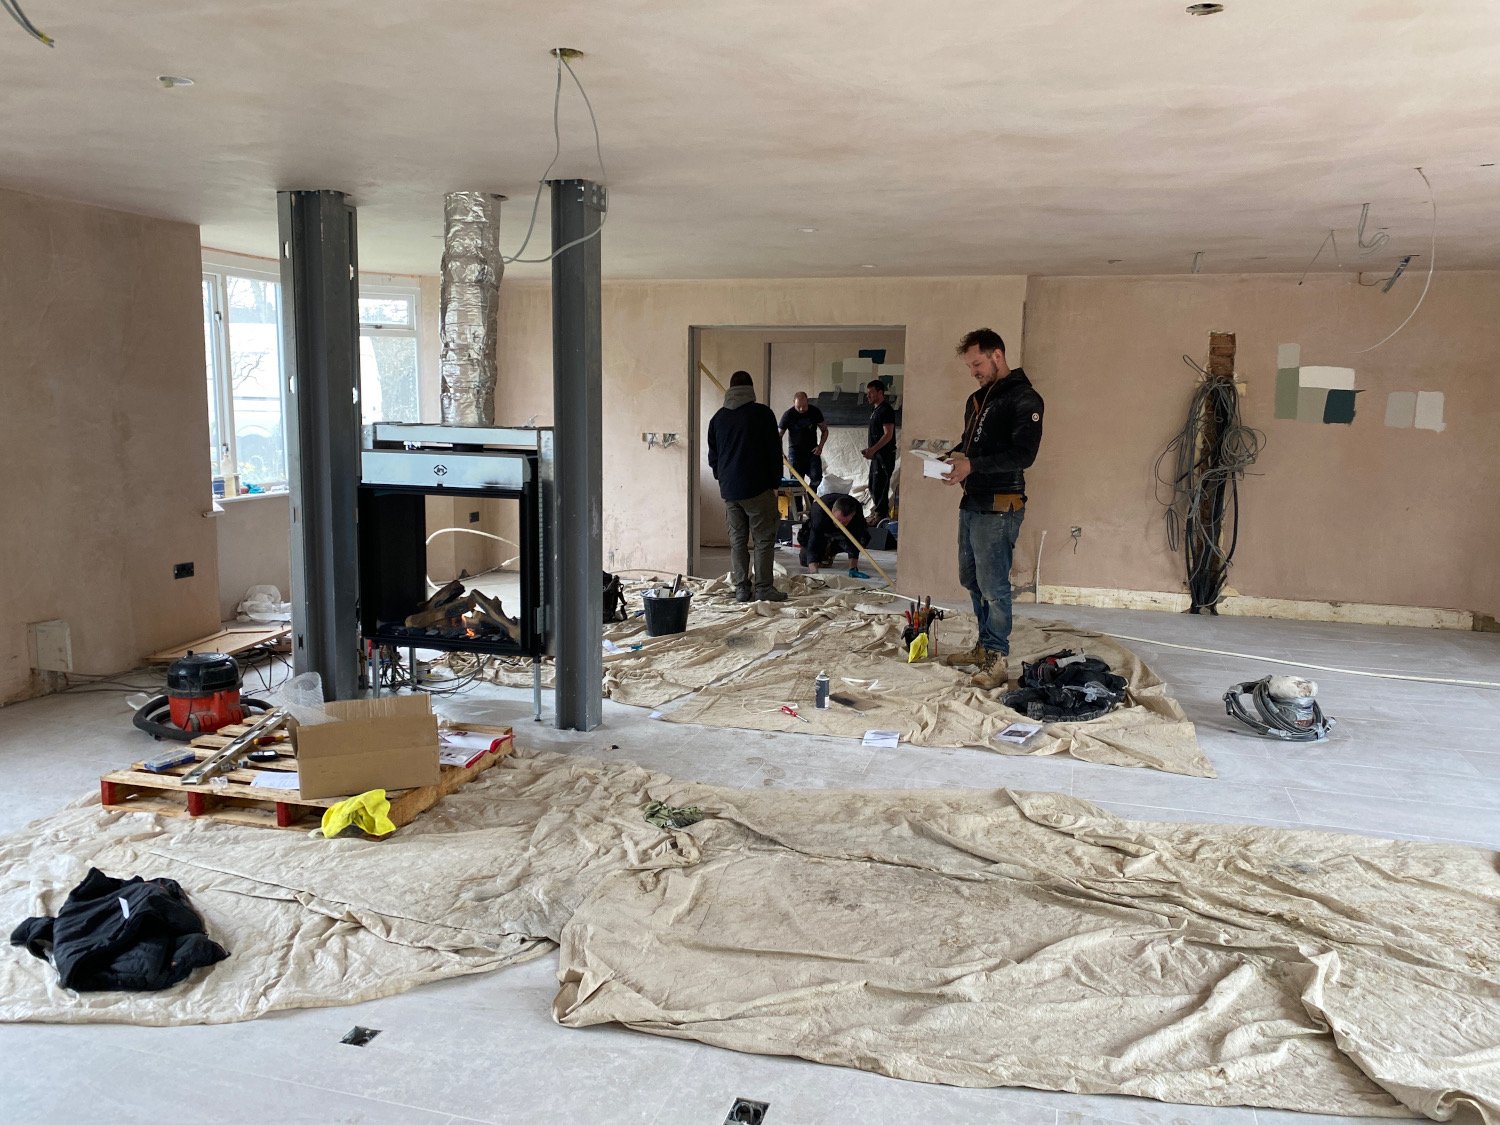
The fire is a DRU two way gas fire. I went for the extra clear glass on both front and back so you can barely see it. It’s remote controlled. I absolutely love it!
It took a day to install the flue which goes directly upwards through the guest bedroom and through the loft conversion. Then another day to instal the fire. Finally a day to build and plaster the new chimney breast. I think it’s a perfect room divider without losing the open plan feel I’m after and I just love it.

Once the fire is finished we have to build a chimney breast

The chimney breast is made of fire resistant plasterboard. It’s always colour coded pink

Finally the plasterboard is plastered and ready for painting
Now it’s time to install the kitchen. The units were delivered fully made from Handmade Kitchens of Christchurch. My builder’s kitchen installer did the rest. I agonised over the exact placement of the island to get the right feeling of space as you walk around it. I just didn’t think I had enough room between ovens and island until I remembered I’d gone for slide and hide oven doors. This means even if the oven doors are open they’re hidden under the unit so there is still room for 2 people to pass around the island. We settled on 105cm distance between the oven and island on one side and a roomy 130cm between sink and island on the other side.

The kitchen units arrive ready built from Handmade Kitchens of Christchurch
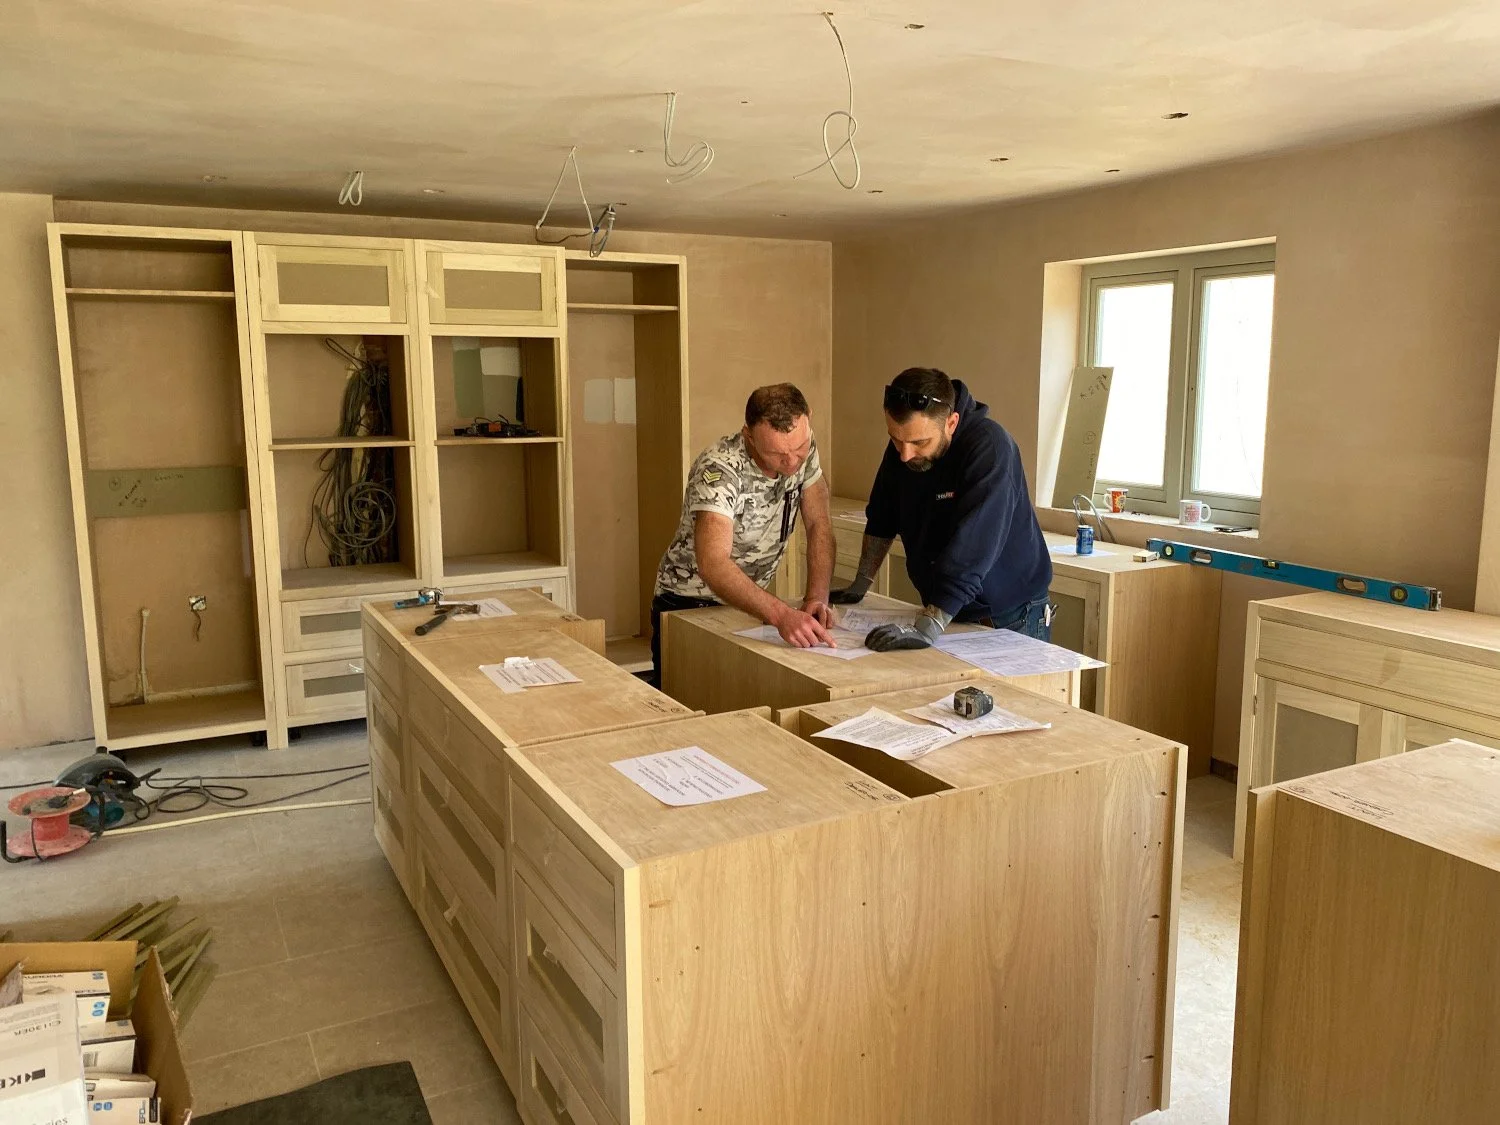
My kitchen fitters work to the Handmade Kitchens of Christchurch plan

I agonised over the distance we should put the island from the bank of units which contains the ovens. It’s a compromise between having as much space as I could get while not letting the island encroach too much on the dining area to the right. I settled on 105cm this side and 130cm around the back.
To match the kitchen we’ve bought a huge piece of furniture to house TV and toys. It’s 2.8m long and fills an entire wall. I designed it and had it built by Harvey-George of Harrogate. They also built my bathroom vanity units. The central rectangle is sized to house our newly ordered Samsung TV. We’ve gone for the one that looks like a framed piece of artwork when it’s switched off. This was a compromise between my husband wanting a massive tele and me not wanting a massive black rectangle on the wall when it’s not on. There’s space for a sound bar so we can watch movies with a decent soundtrack. The top of the unit has a lip to hide an LED strip so I can illuminate the unit. Finally Each of the underneath cupboards is designed to perfectly fit a large IKEA plastic storage box for easy toy tidying. I think I love it!

The TV unit is arriving in pieces today
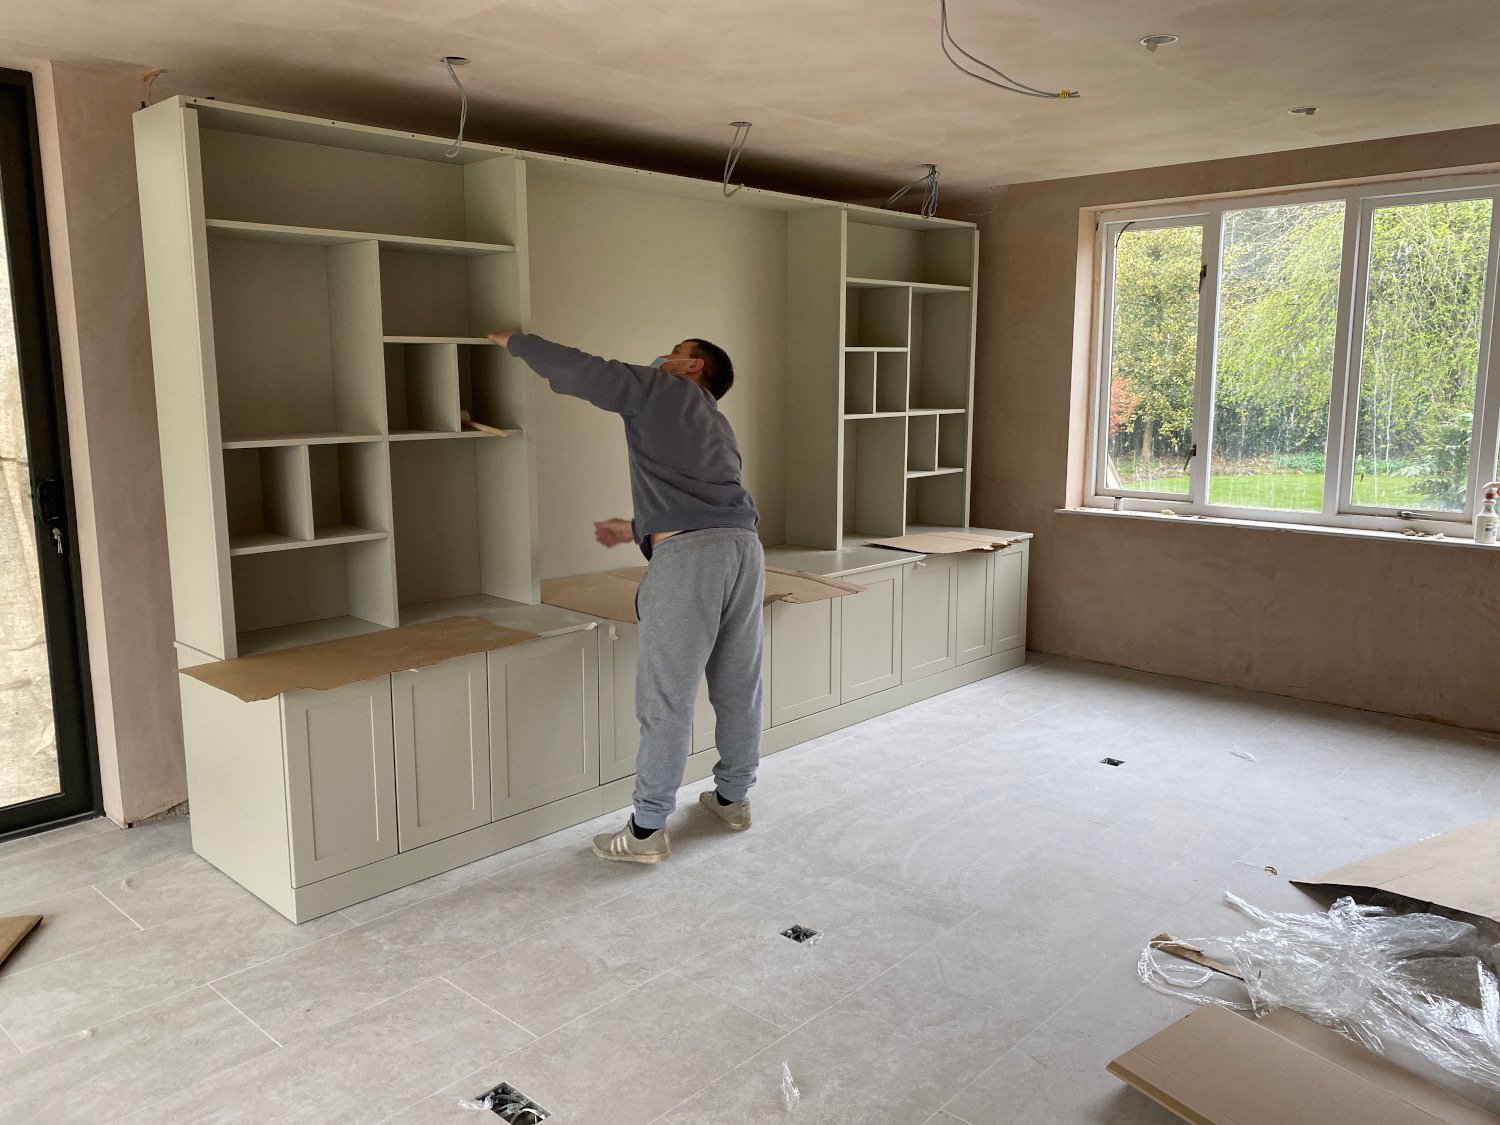
Harvey George of Harrogate built it to my design. The whole process took about 6 weeks

I love it! Its spray painted in Farrow and Ball Drop Cloth to match the paint I’ve chosen for the kitchen wall units. The 3 big cupboards underneath are just the right size to house a large IKEA plastic storage box. Easy toy tidy!
The rest of the downstairs has made good progress this week too. The Tedd Todd smoke coloured wooden chevrons have been fitted in the bar room.


The bar is ready for the floor to be installed
Before the smoke grey chevron planks go down we fit 9mm plywood across the entire space
Starting at the point you see when you enter the house the chevrons start to go down. Turns out I don’t have enough right handed ones so you’ll have to wait to see the finished floor! Who knew chevrons have a handedness?!
All the wires terminate under the stairs and we are waiting for two fuse boxes to be installed here. It looks utterly baffling to me - which is why I have an excellent electrician!

All the wires terminate in a new fuse box under the stairs. How the electricians work out which wire belongs to what is beyond me!

I bought the coving for the bar from CS Interiors who make beautiful plaster moulded pieces. Here you can chose samples to bring home before buying the coving in 3 meter long strips

I chose 4 simple coving options to bring home and try. The ceiling height on this project just doesn’t allow for anything too elaborate. The final choice is CS 103. The one in the front of the photo
A slight delay happened in the bar. My fault as I forgot to tell the coving fitter to leave space for the curtain pelmets until it was too late. The coving is 3m long strips of moulded plaster which are cut to size on site. The pattern I’ve chosen this time is simple so the corners are easier to fit. It’s still a tricky job to get it all up without cracking though so thank you Bobbi for your meticulous work. And for taking part of it down in such good humour!

On site Bobbi sets to work cutting the coving strips to fit around the corners

I forgot to tell Bobbi I was having curtain pelmets in the bar. So once he’d finished the coving he had to chop some of it down again. Thank you for taking it with good humour Bobbi!

It’s a skilled job to match up the coving around the room’s twists and turns. Easier with this simple coving but for a more elaborate example check out my crouch end project reception room. That had roses and grapes on it!
WEEKS 25–28