WEEKS 19-21
10p sized mother of pearl buttons

This exotic stone called Cote D’Azur is an option for the bar top
This week has been all about marble tiles, natural stone slabs and mother of pearl. We are starting to focus on interiors and the end is in sight.
At the start of week 19 I had a really lovely day when I had to go and choose the stone for the kitchen worktops. In the past I’ve had quartz and granite but on this project I’m open minded about trying something different.

Massive marble tiles 1200mm x 800mm are going into the guest ensuite

10p size mother of pearl button tiles for the downstairs toilet
I found a trade stone merchant called Nilestone not far from me. They agreed to me visiting the showroom to choose the slab. If you don’t choose the exact slab you can end up losing the colour seam you want. Also stone warehouses are cool so a treat to see. I thought I wanted white quartz when I arrived. But then I saw this lovely matt white ceramic from an Italian manufacturer called Marazzi. It gave me the bright clean look I was after but without any sheen or seams. It’s also indestructible which is important because I want to put hot pans down without worrying. I also don’t want it to stain.

A visit to the Nilestone warehouse which houses hundreds of slabs of manmade and natural stone
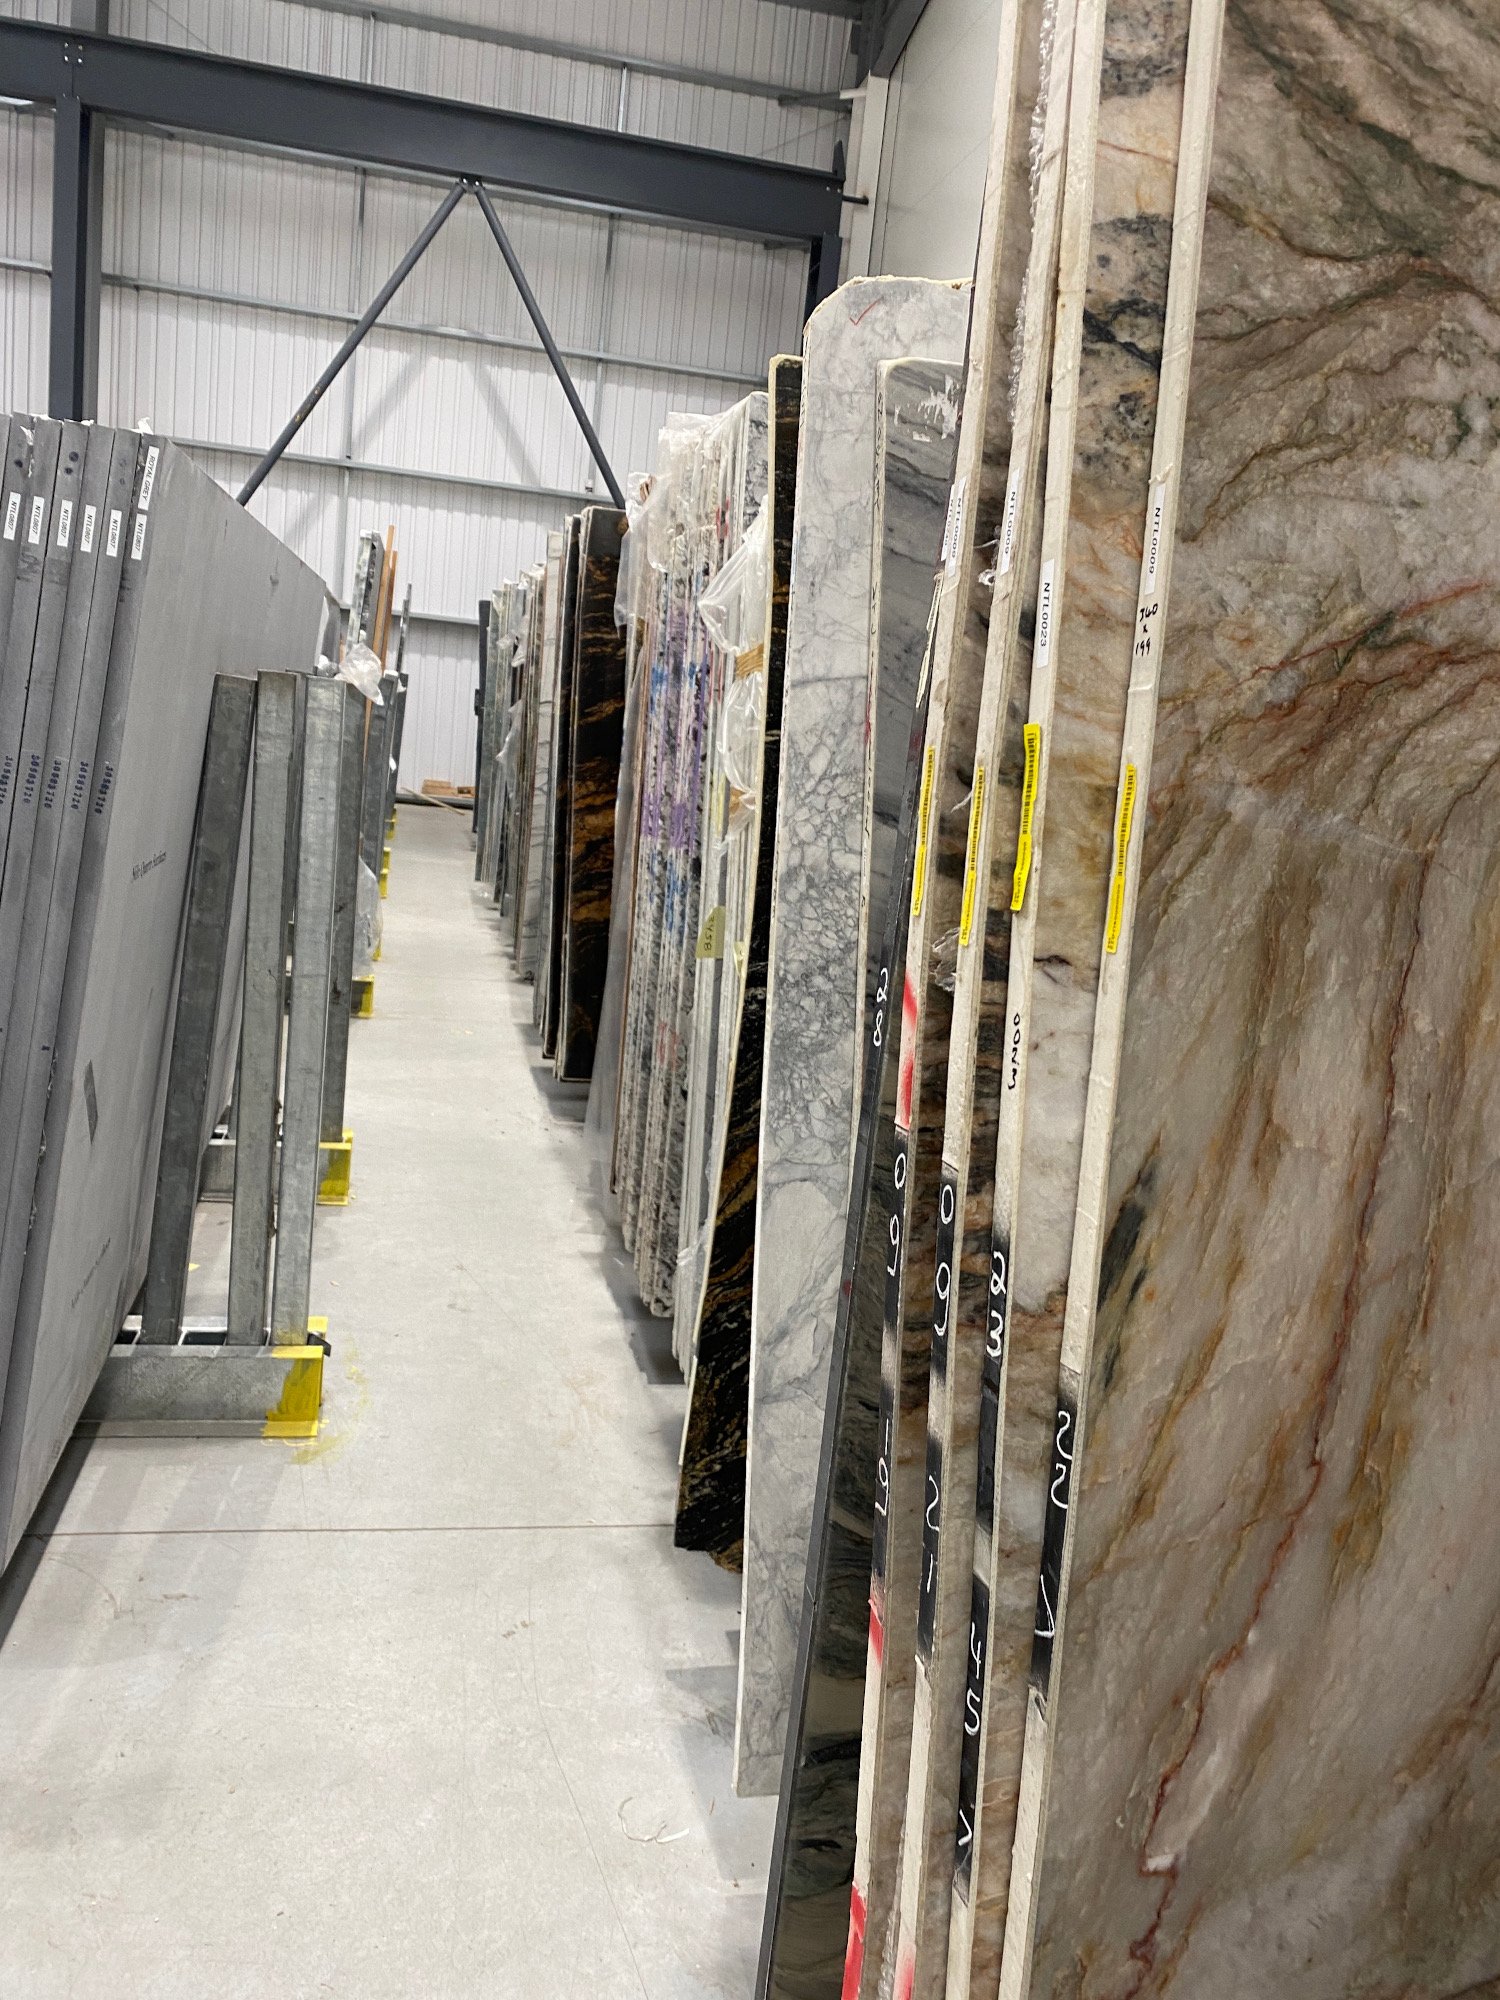
The exotic stone isle in Nilestone where I found the piece for the bar top

Marazzi ceramic in matt white is my choice for the kitchen worktop. I have to wait a month for them to produce a thicker than usual piece. I want 20mm and they usually come in 10mm
Next I needed to choose a slab for the top of the bar. This is a centrepiece of the grown up sitting room so we agreed to throw some money at it. I wanted something that allows light through so we can backlight it. I also wanted something unique so not man made. I found quartzite. Unlike quartz it’s a natural stone. It has unique seams of crystals in it which let light through and I think it’s beautiful. We went for Dover White. It’s green, grey, and slightly orange so fits the colour scheme perfectly. I simply adore it and can’t wait to see it glowing on the bar.

Trying to match the exotic quartzite stone to my bar room floorboards and Zoffany paint colour chart

Found it! This is our slab. The top half is full of crystals so that is the exact strip we want. It’s called Dover White quartzite. A natural stone so no 2 pieces are the same. I love it!

Another option for the bar top. This one has crystals in it which will let light through, and a hint of green to match the curtains!
The downstairs loo has been taking up quite a lot of bandwidth over the past two weeks. For such a small room I get a bit obsessed about the cloakroom. Weirdly it’s the room that pretty much everyone sees so I like it to be a bit wowy. I’ve gone for 10p sized mother of pearl buttons tiled over two walls. We’ve used black grout to show them off. The copper loo roll holder and toilet flush are in and looking good. Now I just need to wait for the tap to arrive from Germany. I’m going to put pearl like wall sconces in here to finish off my “inside an oyster” odyssey. Watch this space!
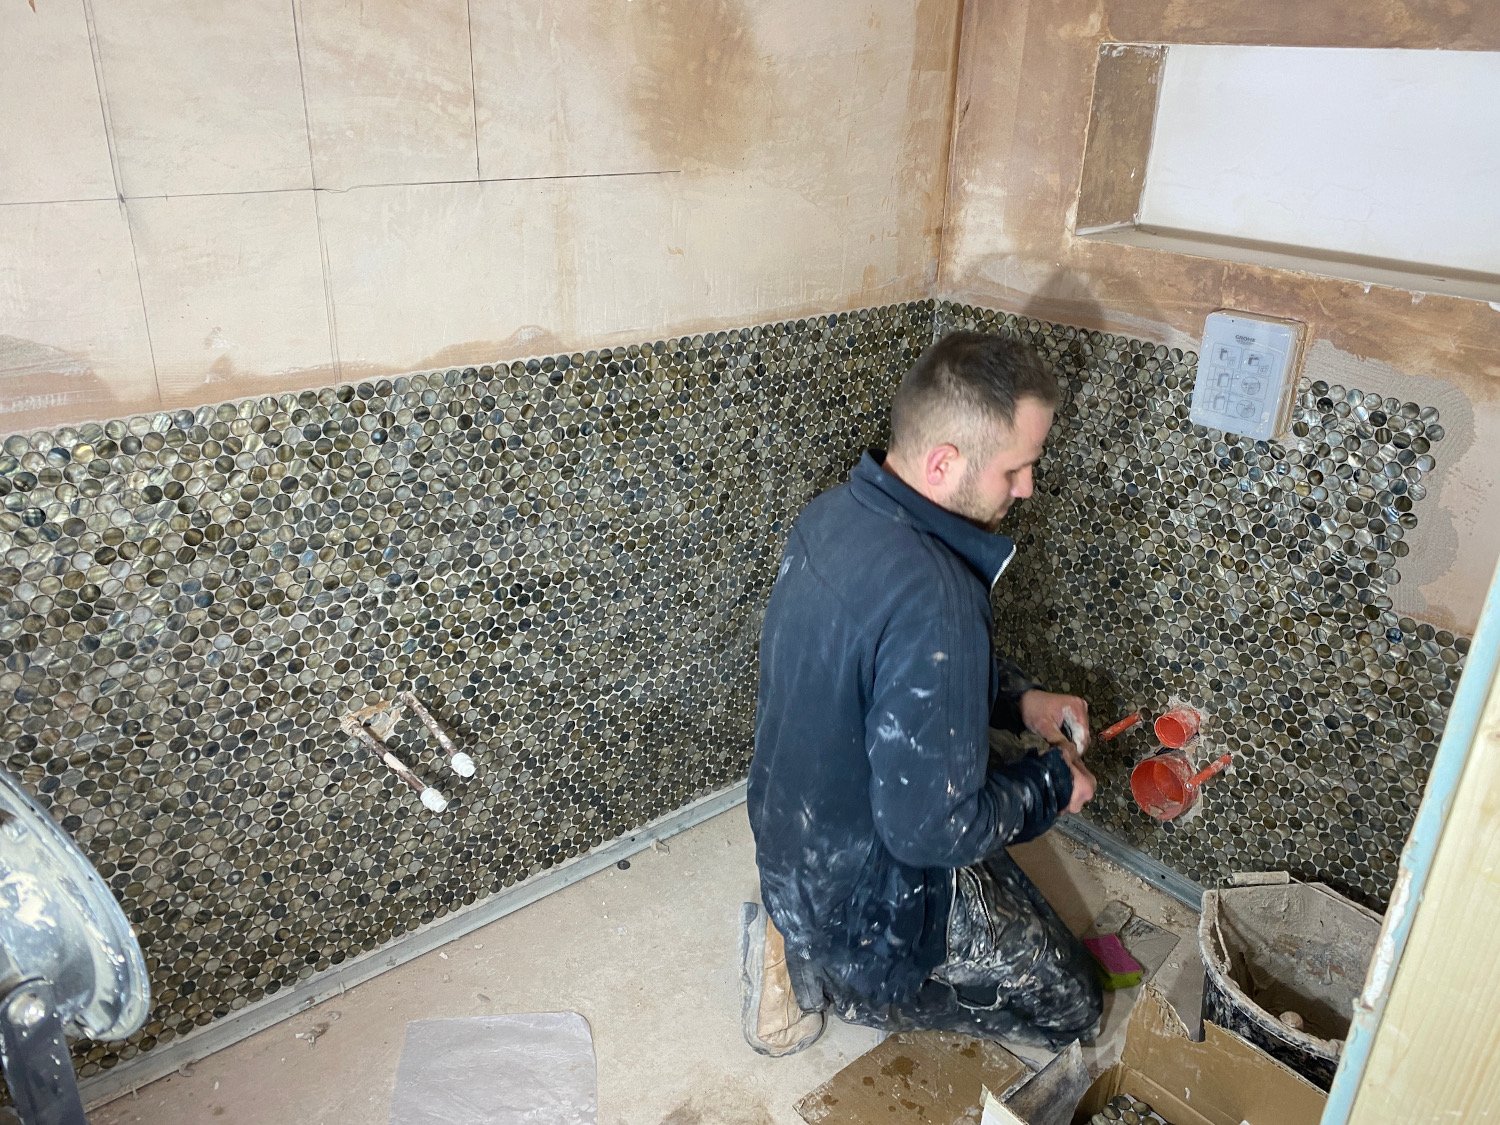
Putting the 10p sized mother of pearl button tiles on the walls
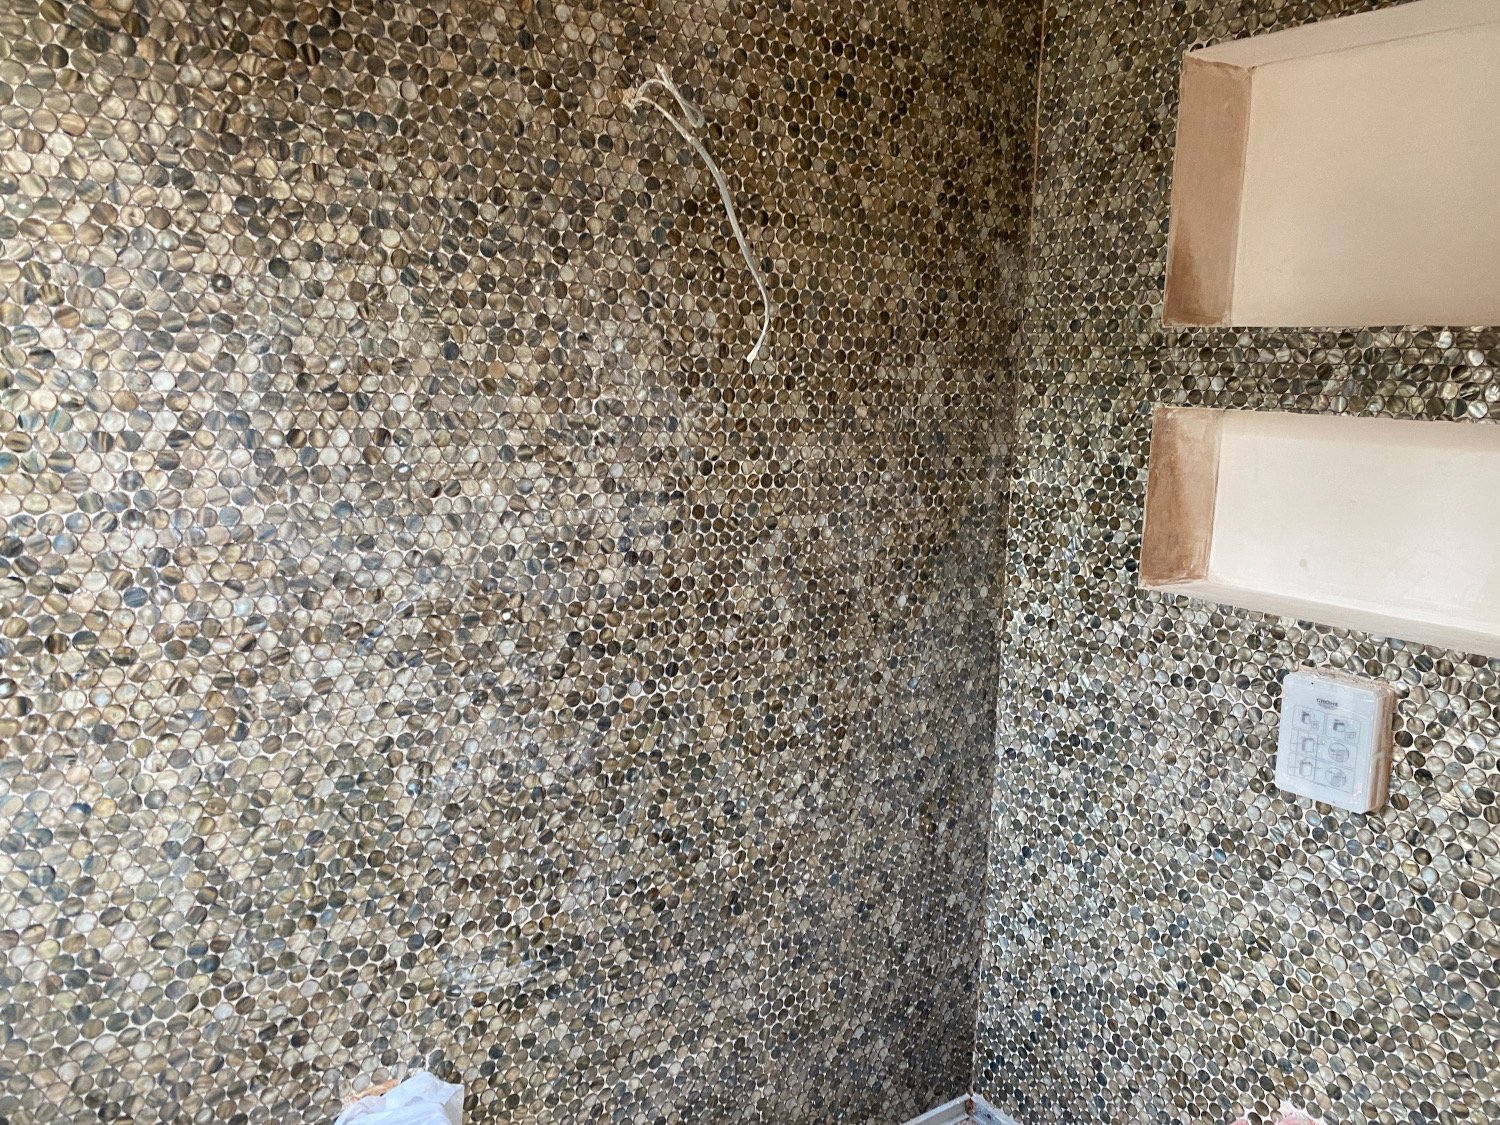
The downstairs toilet is nearly finished and ready for the black grout
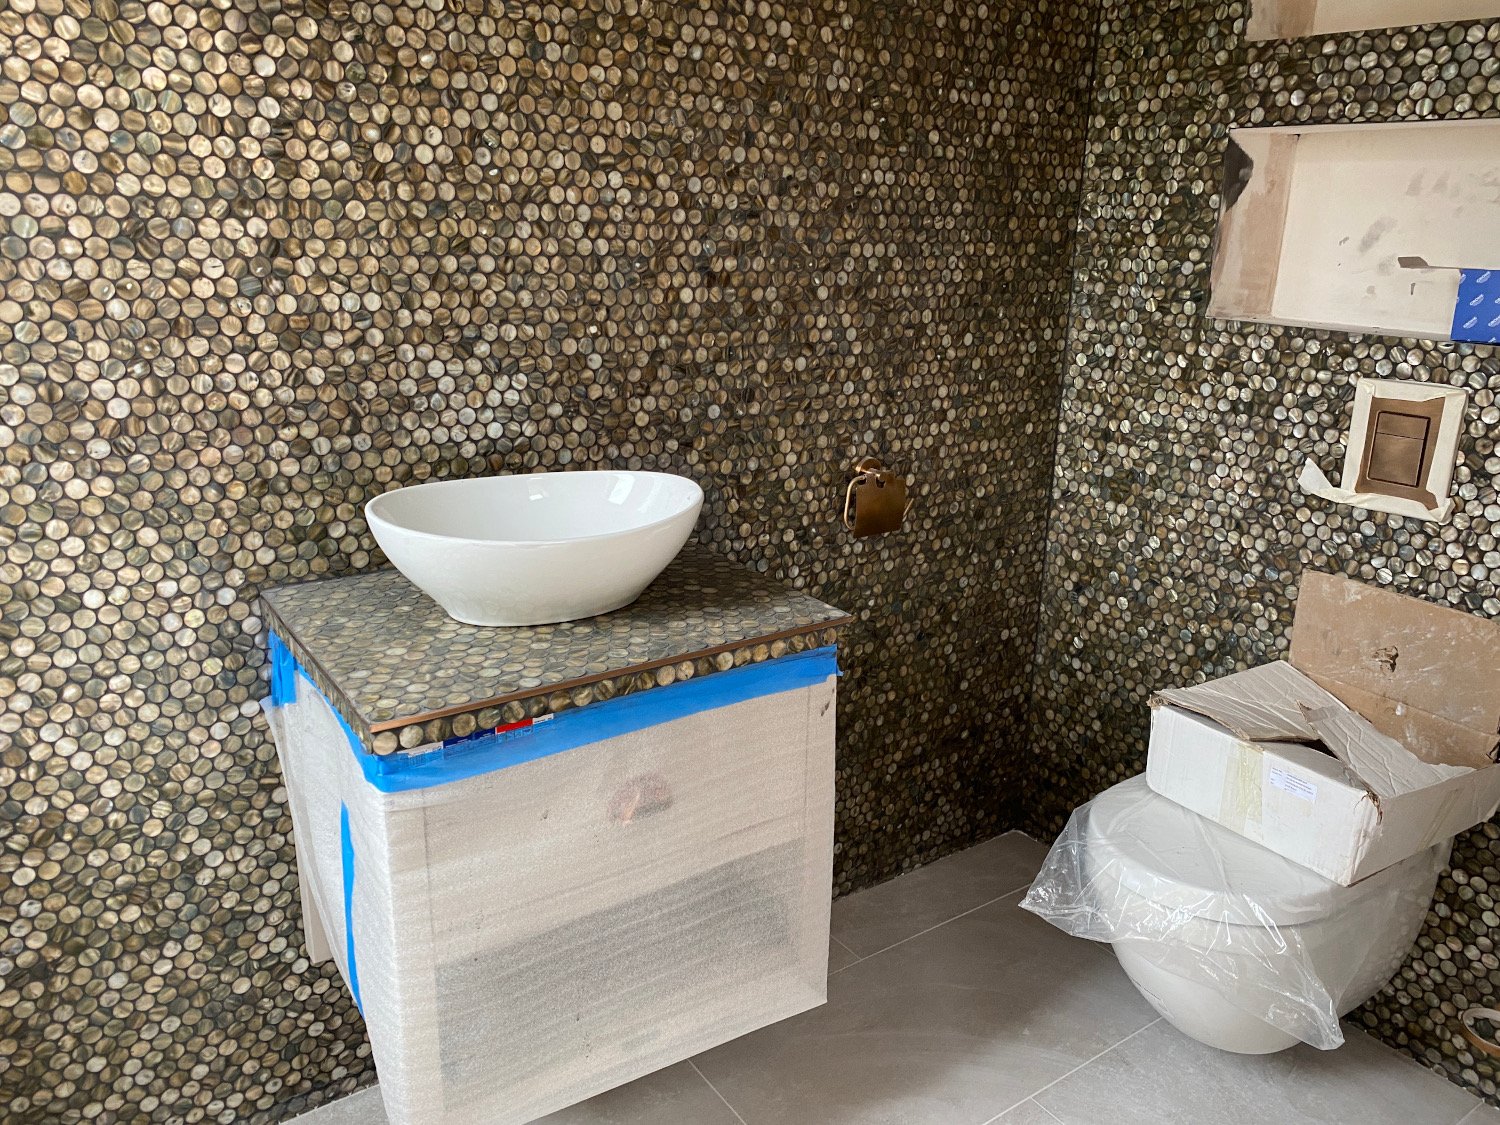
The tiles are grouted with black and the copper trim and accessories are in
Upstairs the gorgeous tiling has continued but at the other end of the size spectrum. In the guest en suite I’ve chosen 1200mm x 800mm marble slabs for the walls. The tilers are amazing – but I do think they hate me! The room is a wet room as I just think they look slicker than a tray and work well in small spaces. The copper trim and taps look great against the marble. I’m thrilled with how it’s coming on.

Copper trim really works with the massive marble slabs


The guest en suite marble tiles are looking fab
Vanity unit in the guest en suite with copper handles to match the taps
The biggest section for tiling is the kitchen-diner. Including the hall and boot room we have about 120 square meters to tile. I’ve gone for limestone coloured porcelain in 800m x 400mm slabs. I saw lots of square tiles in the right shade but I really wanted rectangles. These are slightly mottled so won’t show the dirt as much as a plain tile. They’ve got grey, taupe, and cream in them too so blend with my colours. Rectangles do bring a small issue in that you have a choice of orientation. Murphy’s law the boys picked the wrong one first! They switched it with good humour though. I think my tiler is smiling in the last photo because it’s finally finished – maybe he doesn’t hate me after all!

I arrived today to find the kitchen-diner tiles about to be laid in the wrong orientation!
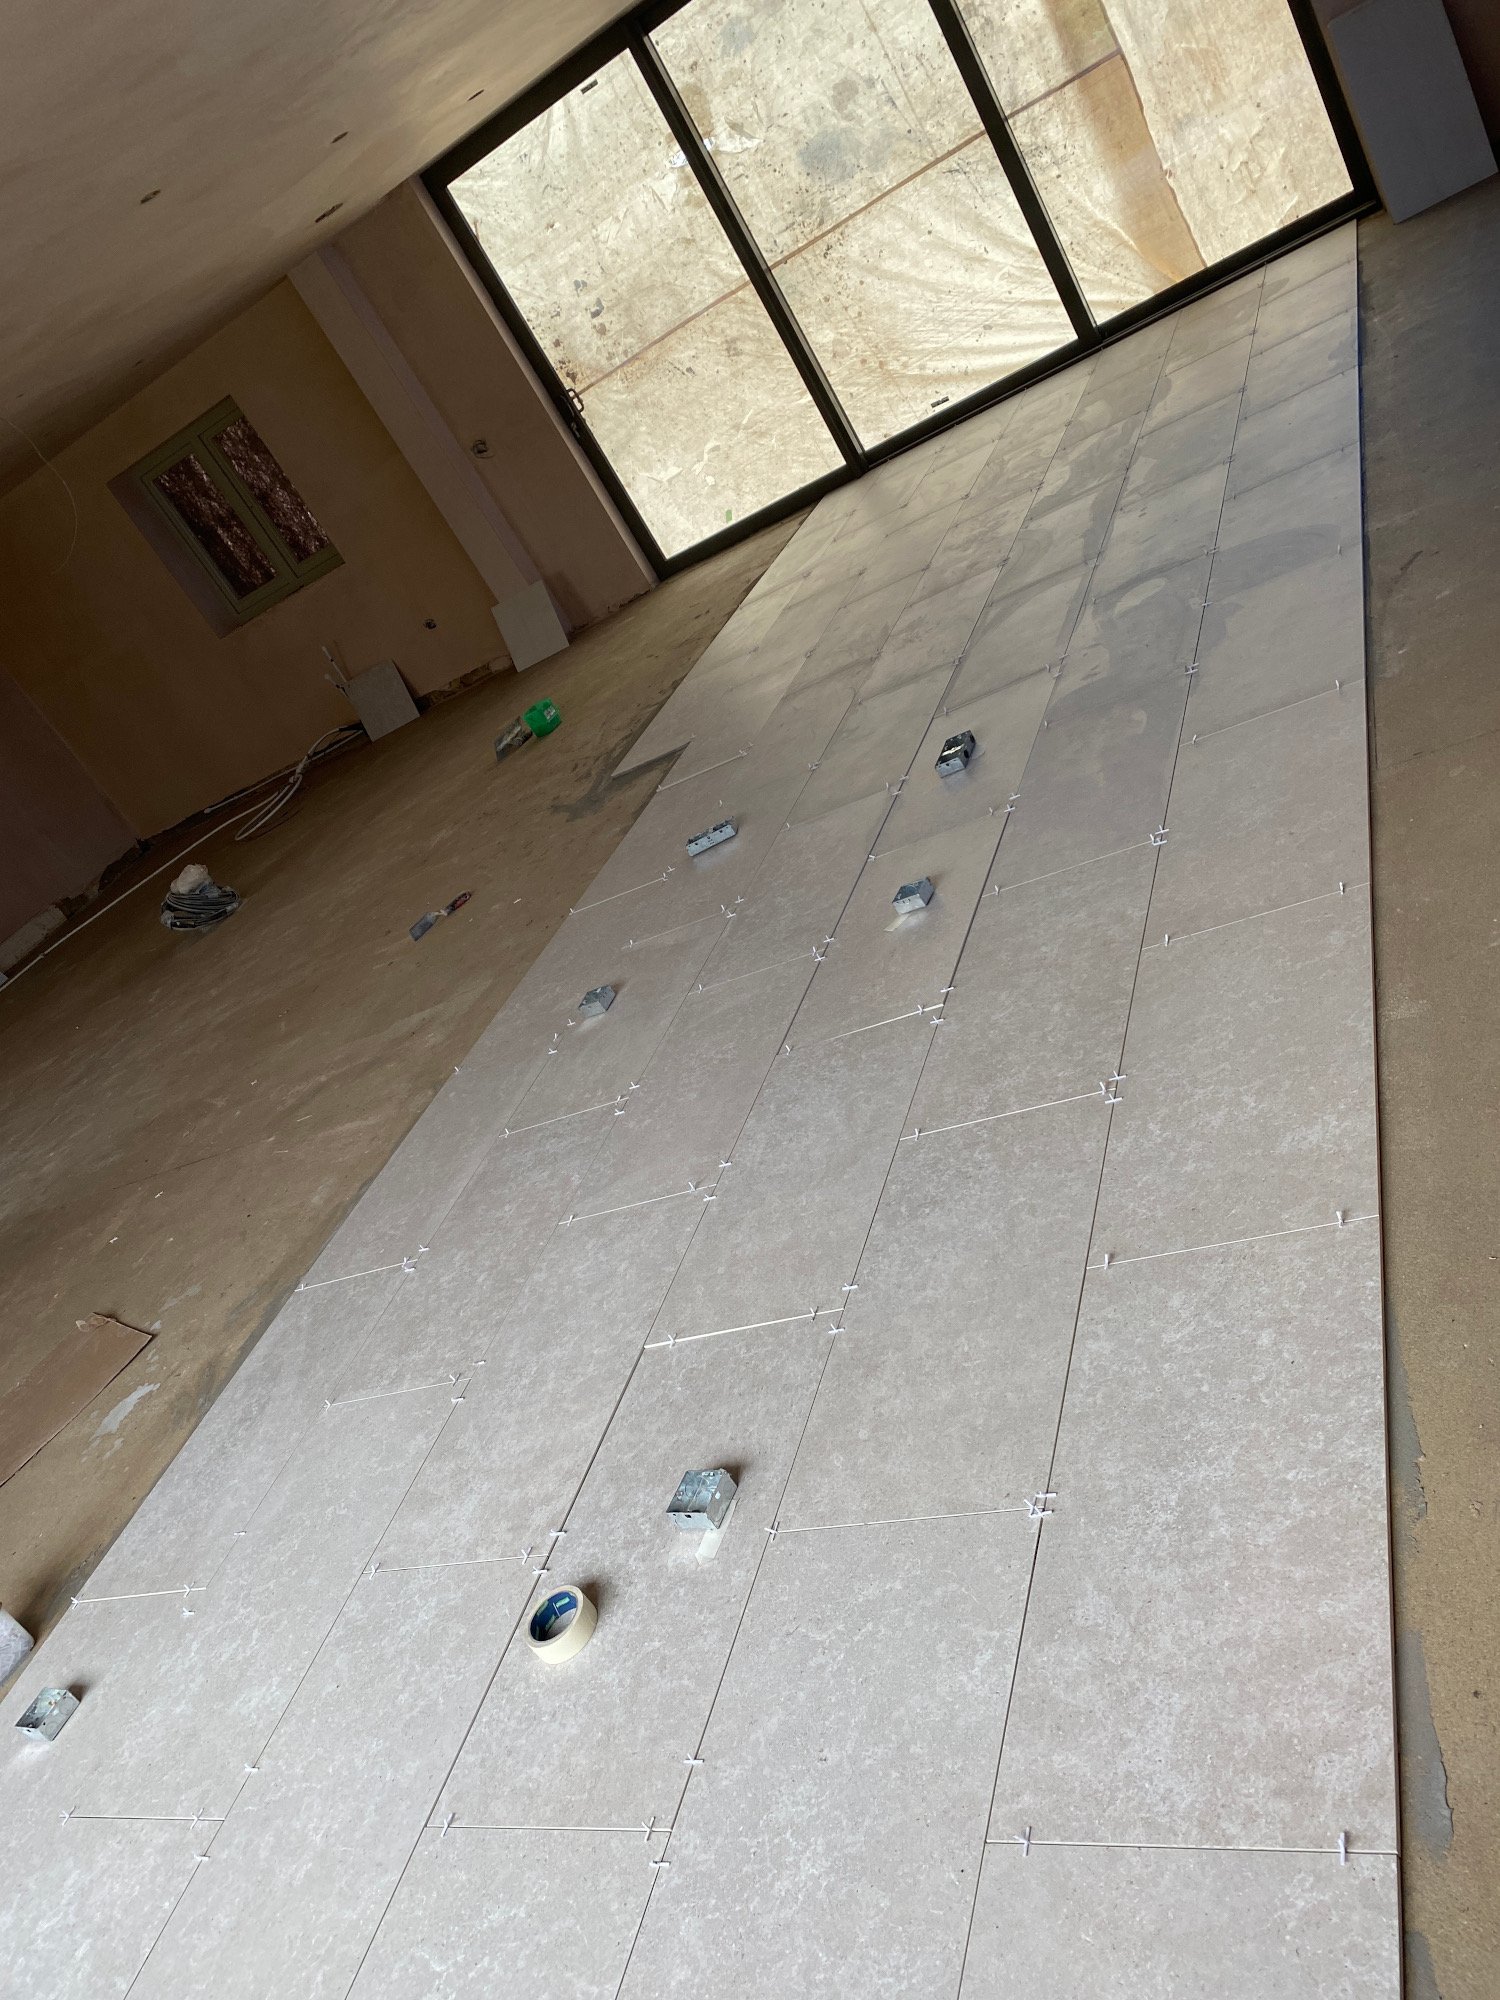
A quick shift and now they run across the kitchen-diner rather than along its length. This is important because the tiles extend into the hall and they have to run down the hall rather than across it
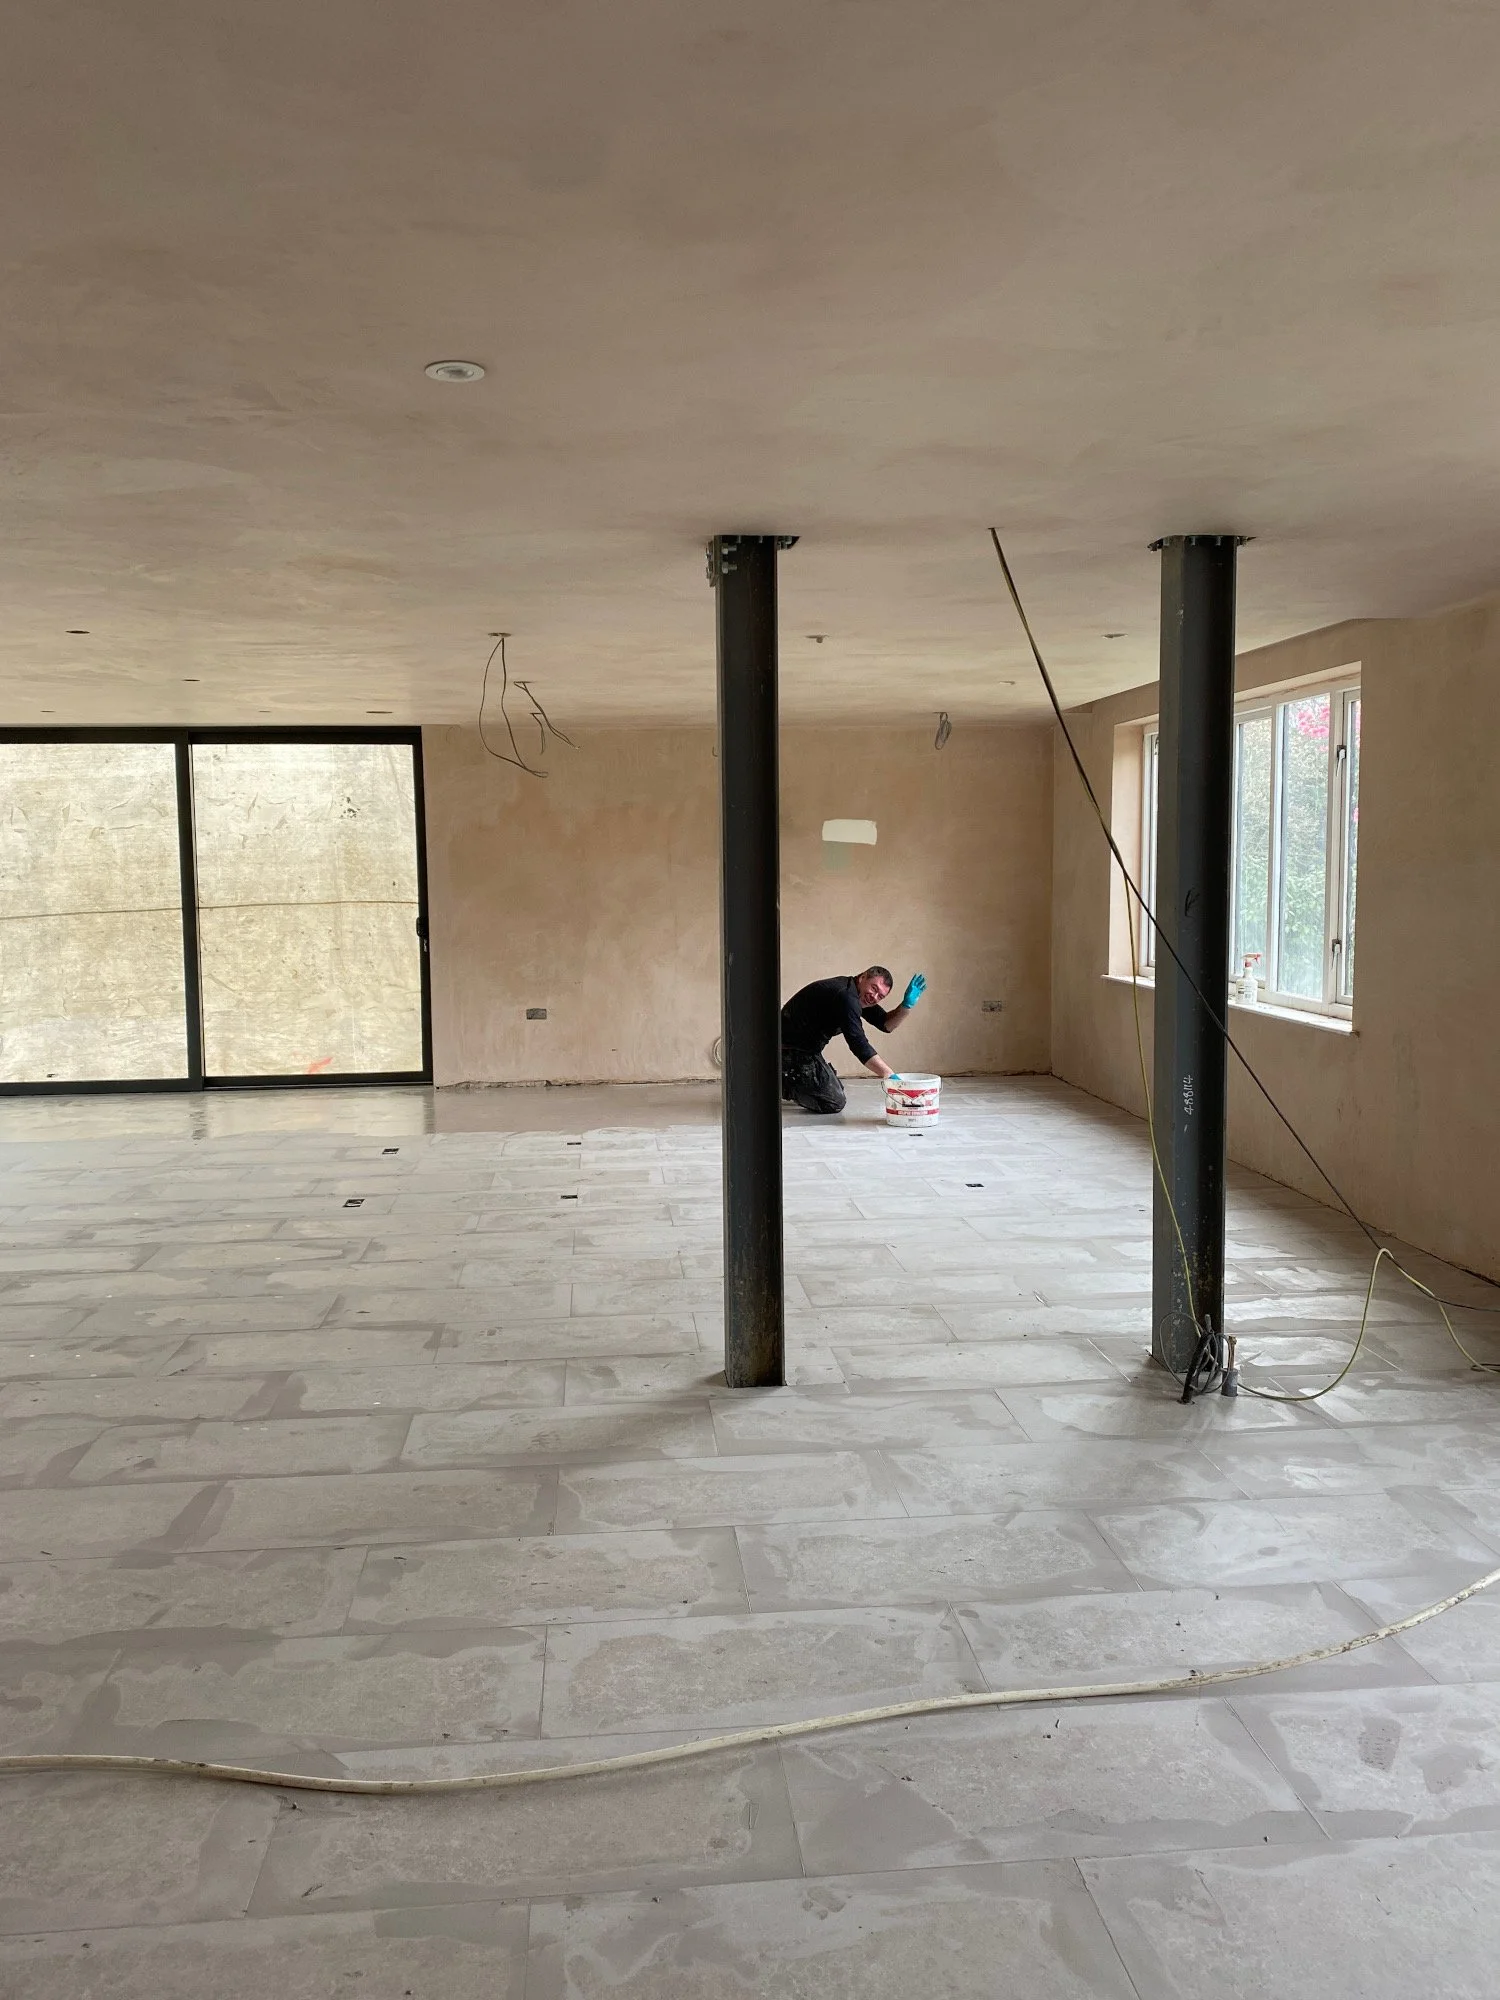
Kitchen-diner tiles finally finished and at least my fabulous tiler is smiling!
The last thing I did this week is choose the coving. 2 trips out in 3 weeks has been a lockdown treat! This time I went to C.S interiors in Uxbridge. I’ve used them before and they do the best replica moulded coving and ceiling roses. This time I have low ceilings so I chose simple coving. Check out the crouch end project for something more elaborate!


Coving is created in 3 m strips ready for shipping
CS interiors coving options. So much choice. I also quite fancy the Roman pillar!

I decided on a simple coving this time because my ceilings are lower. For a more elaborate one check out my Crouch End project. That one had grapes and roses!