WEEKS 16–18
The sunset pink of setting plaster

The family bathroom renovation is nearly finished. The wall tiles are a grey/white pearlescent brick. The floor is grey wood effect porcelain floorboards
It’s been all about bathroom renovation in week 16. My vanity units arrived from Harvey-George in Harrogate. They arrived at 6.30pm so I couldn’t actually see them until the next day. It was a bit nerve wracking but on inspection all is well.

Vanity unit for the family bathroom. Painted in Zoffany Mushroom with copper handles. This is the only vanity which will stand on the floor as I don’t trust the children not to sit on the sink and pull it off the wall

The vanity unit for the master is 2.3 meters long and spans the entire wall. It’s painted in Zoffany Huntsman Green with a pure white stone top and upstand. The overflows came chrome but the copper ones are on their way!
The family bathroom is almost done. I’ve gone for pearlescent grey-white bricks on the walls. I’ve used wood effect floorboard tiles for the floor. Finding tile trim was a bit of a pain. Because the tiles aren’t white, or grey I couldn’t get a standard colour. In the end pro tile trims had a good match in their powder coated aluminium range. After a few back and forth with samples they also matched a trim to my copper-coloured Grohe taps. Now we just have to wait for the actual taps to turn up. Because they’re a special order they take 16 weeks. I suspect with Brexit and COVID they might take even longer. If we’ve moved in by then we’ll just have to bath the kids in the kitchen sink for a month!
Once the pipes are down the screed van arrives. Screed is basically sandy cement which is compacted around the water pipes. It conducts heat well and gives a nice flat surface.
Sand, cement and water get mixed in the cement mixer outside. Then it gets pushed into the house through a massive thick black hose. It was like having an anaconda vomit all over the floor. It was a bit weird to watch, but after just 1 day the job is done. Now we have to let the screed harden. Being careful not to walk on it. Then we can slowly turn the heat on to finish the drying. If you heat it too fast the screed can crack, so baby steps.

I think the colour of the vanity unit in the family bathroom might be a bit too pink but this might just be the reflection of the pink plaster on the walls. It’s an easy paint job if I need to change it. I love the style though and the copper handles will go with my Grohe copper taps. I’m still waiting for most of the taps to arrive though as they’re on a 16 week lead time

Matching the tap colour to the tile trim was tricky. The first batch had to go back
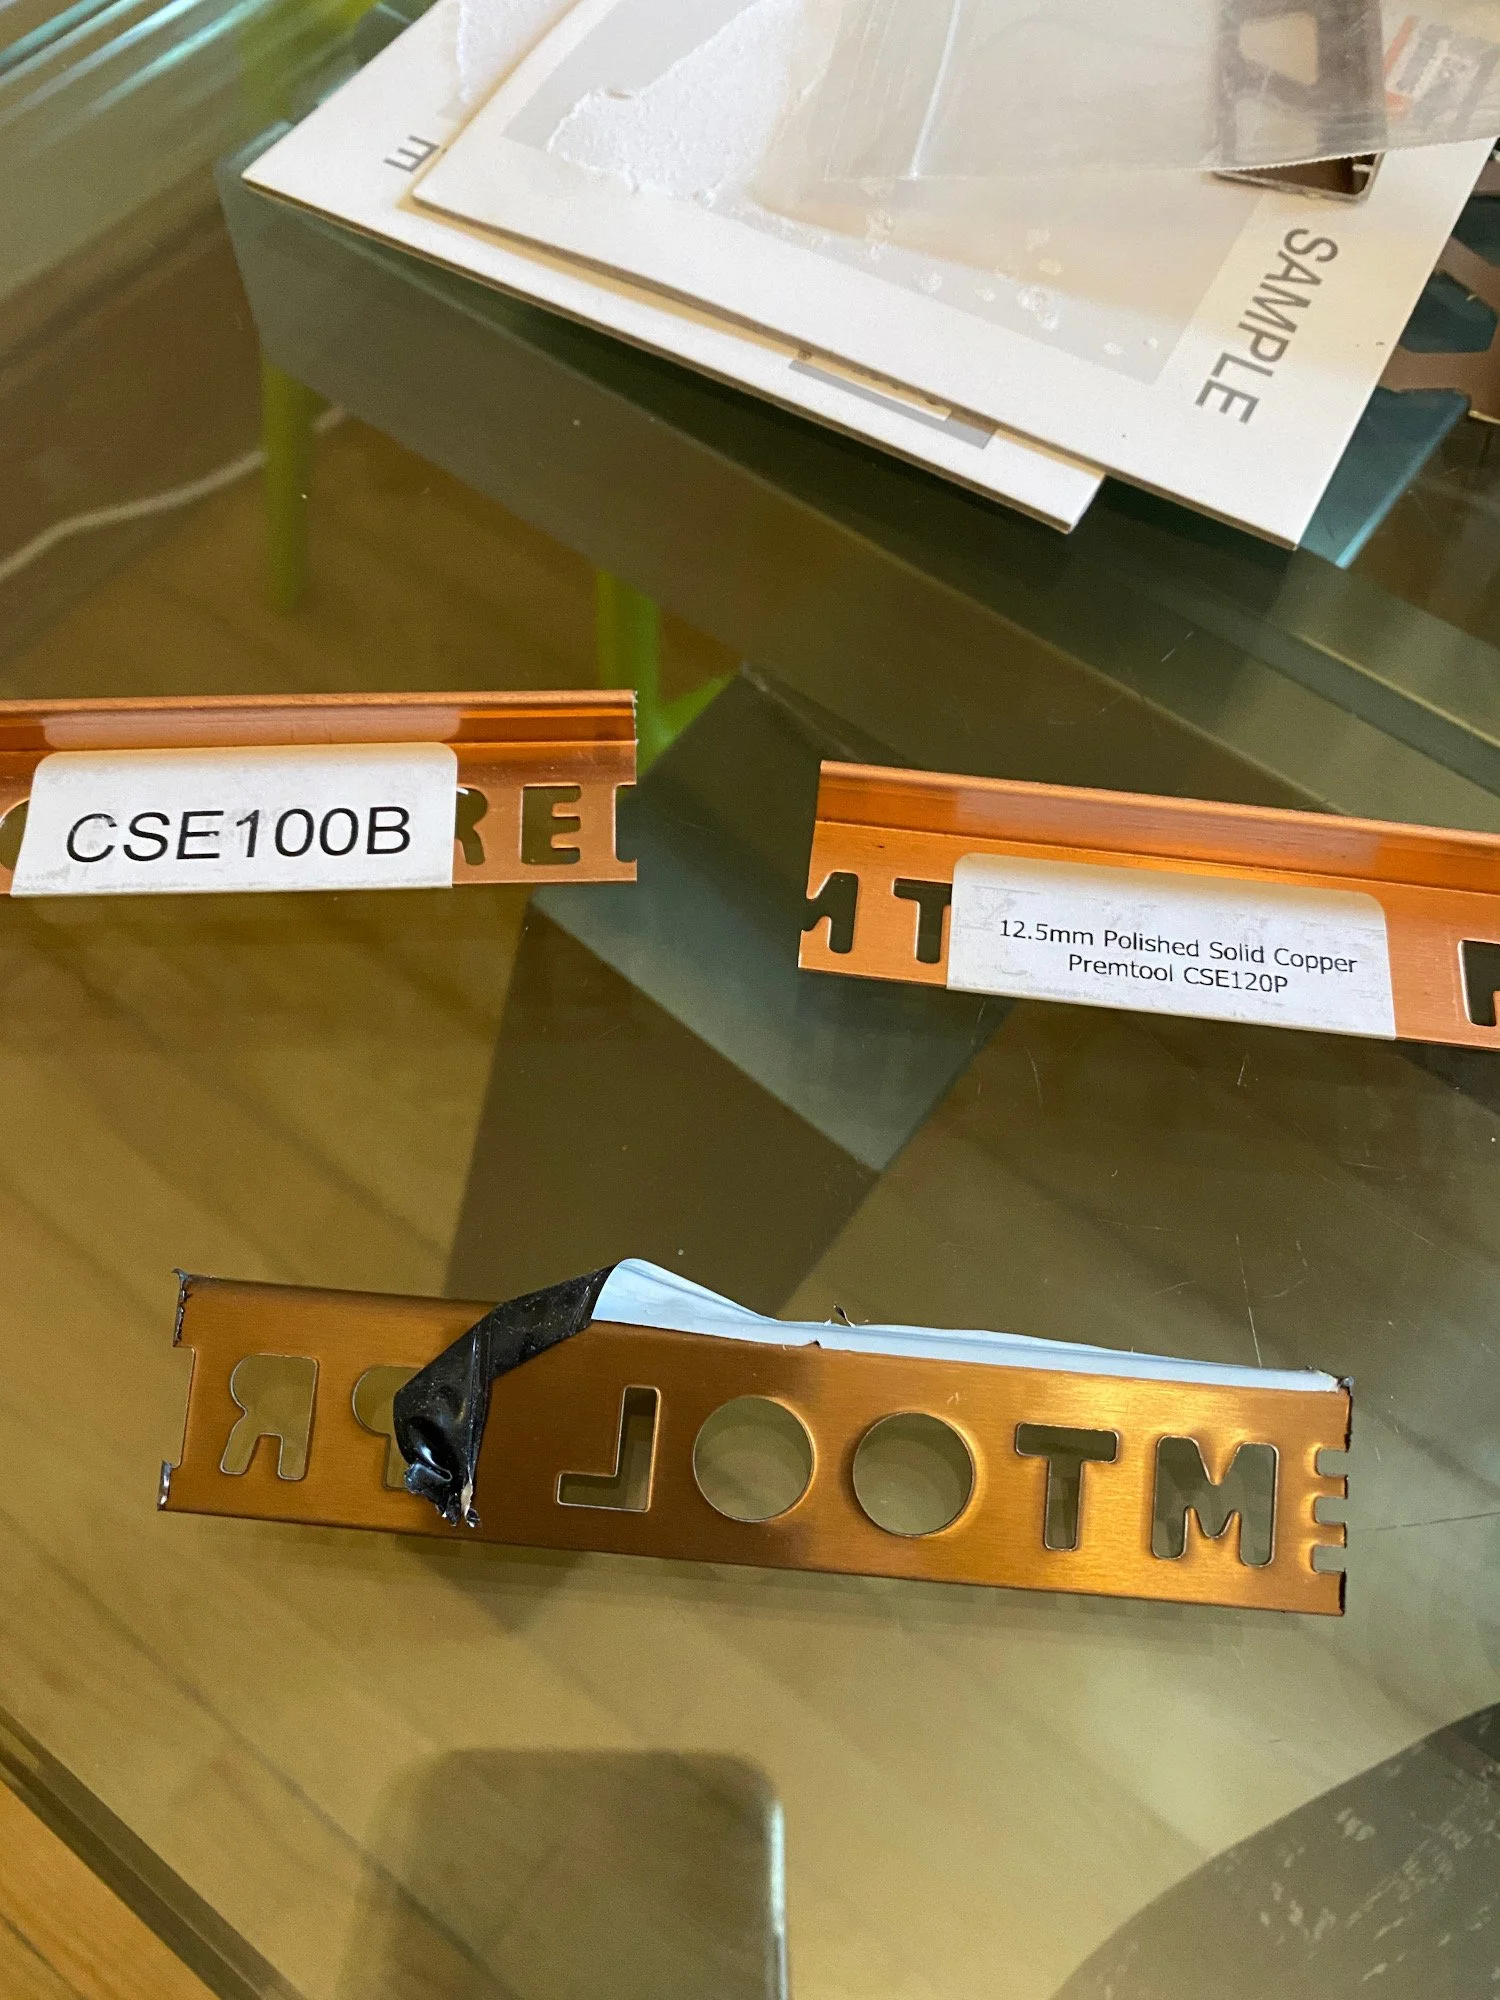
After getting 3 more samples I found the colour from pro tile trims. The foreground trim is the perfect match
The master bathroom renovation is coming together nicely. I’m so grateful to Martin the tiler who has spent days cutting tiny bits of tiles to make the chevron pattern I so want. I think it looks stunning. As does the 2.3m long vanity unit in Zoffany’s Huntsman Green which blends so nicely with the tiles.

We’ve decided to go for a chevron pattern with the master bathroom tiles

Because I’m having recessed shelves we need to create the chevron pattern inside the shelves too. It’s such a fiddly job cutting tiny triangles to fill the gaps around the edges just one shelf takes a day to tile. Thank you Martin!

The finished Chevron wall looks stunning. LED strips will light the shelf to show off the fabulous tiler’s hard work.
In other news the walls in the old side of the house have been insulated this week. The original house dates to 1917 so no cavity wall insulation. And when we ripped out the wardrobes there was damp on the walls. First we fixed the cause of the damp which was a leaky chimney. Then we connected wooden slats to the walls with metal brackets. Jablite 50mm Insulation boards then go onto the wooden slats. The construction leaves an air space between wall and insulation boards for air to circulate. This prevents any future damp. Plasterboard then gets attached to the insulation. Finally it will be plastered. The kids bedroom and playroom are now practically wrapped in cotton wool. Toasty!

We found a small damp problem in the boys’ bedroom. When we removed the wardrobe there was damp and mould on the wall behind. We treated the mould and fixed the leaky chimney causing the damp

Part of the damp problem is that these walls are old with no cavity insulation. To insulate them we first attach metal brackets to the walls. The brackets support wooden slats you can see lying on the floor. This creates a frame for insulation boards to attach to. The air gap between wall and insulation board allows air to circulate and prevents more damp

At the bottom of the wall you can just see the white insulation boards. These are attached to the wooden slat frame. Around the window the insulation boards have been covered by grey plasterboard. On the adjoining wall the plasterboard has already been plastered ready for painting
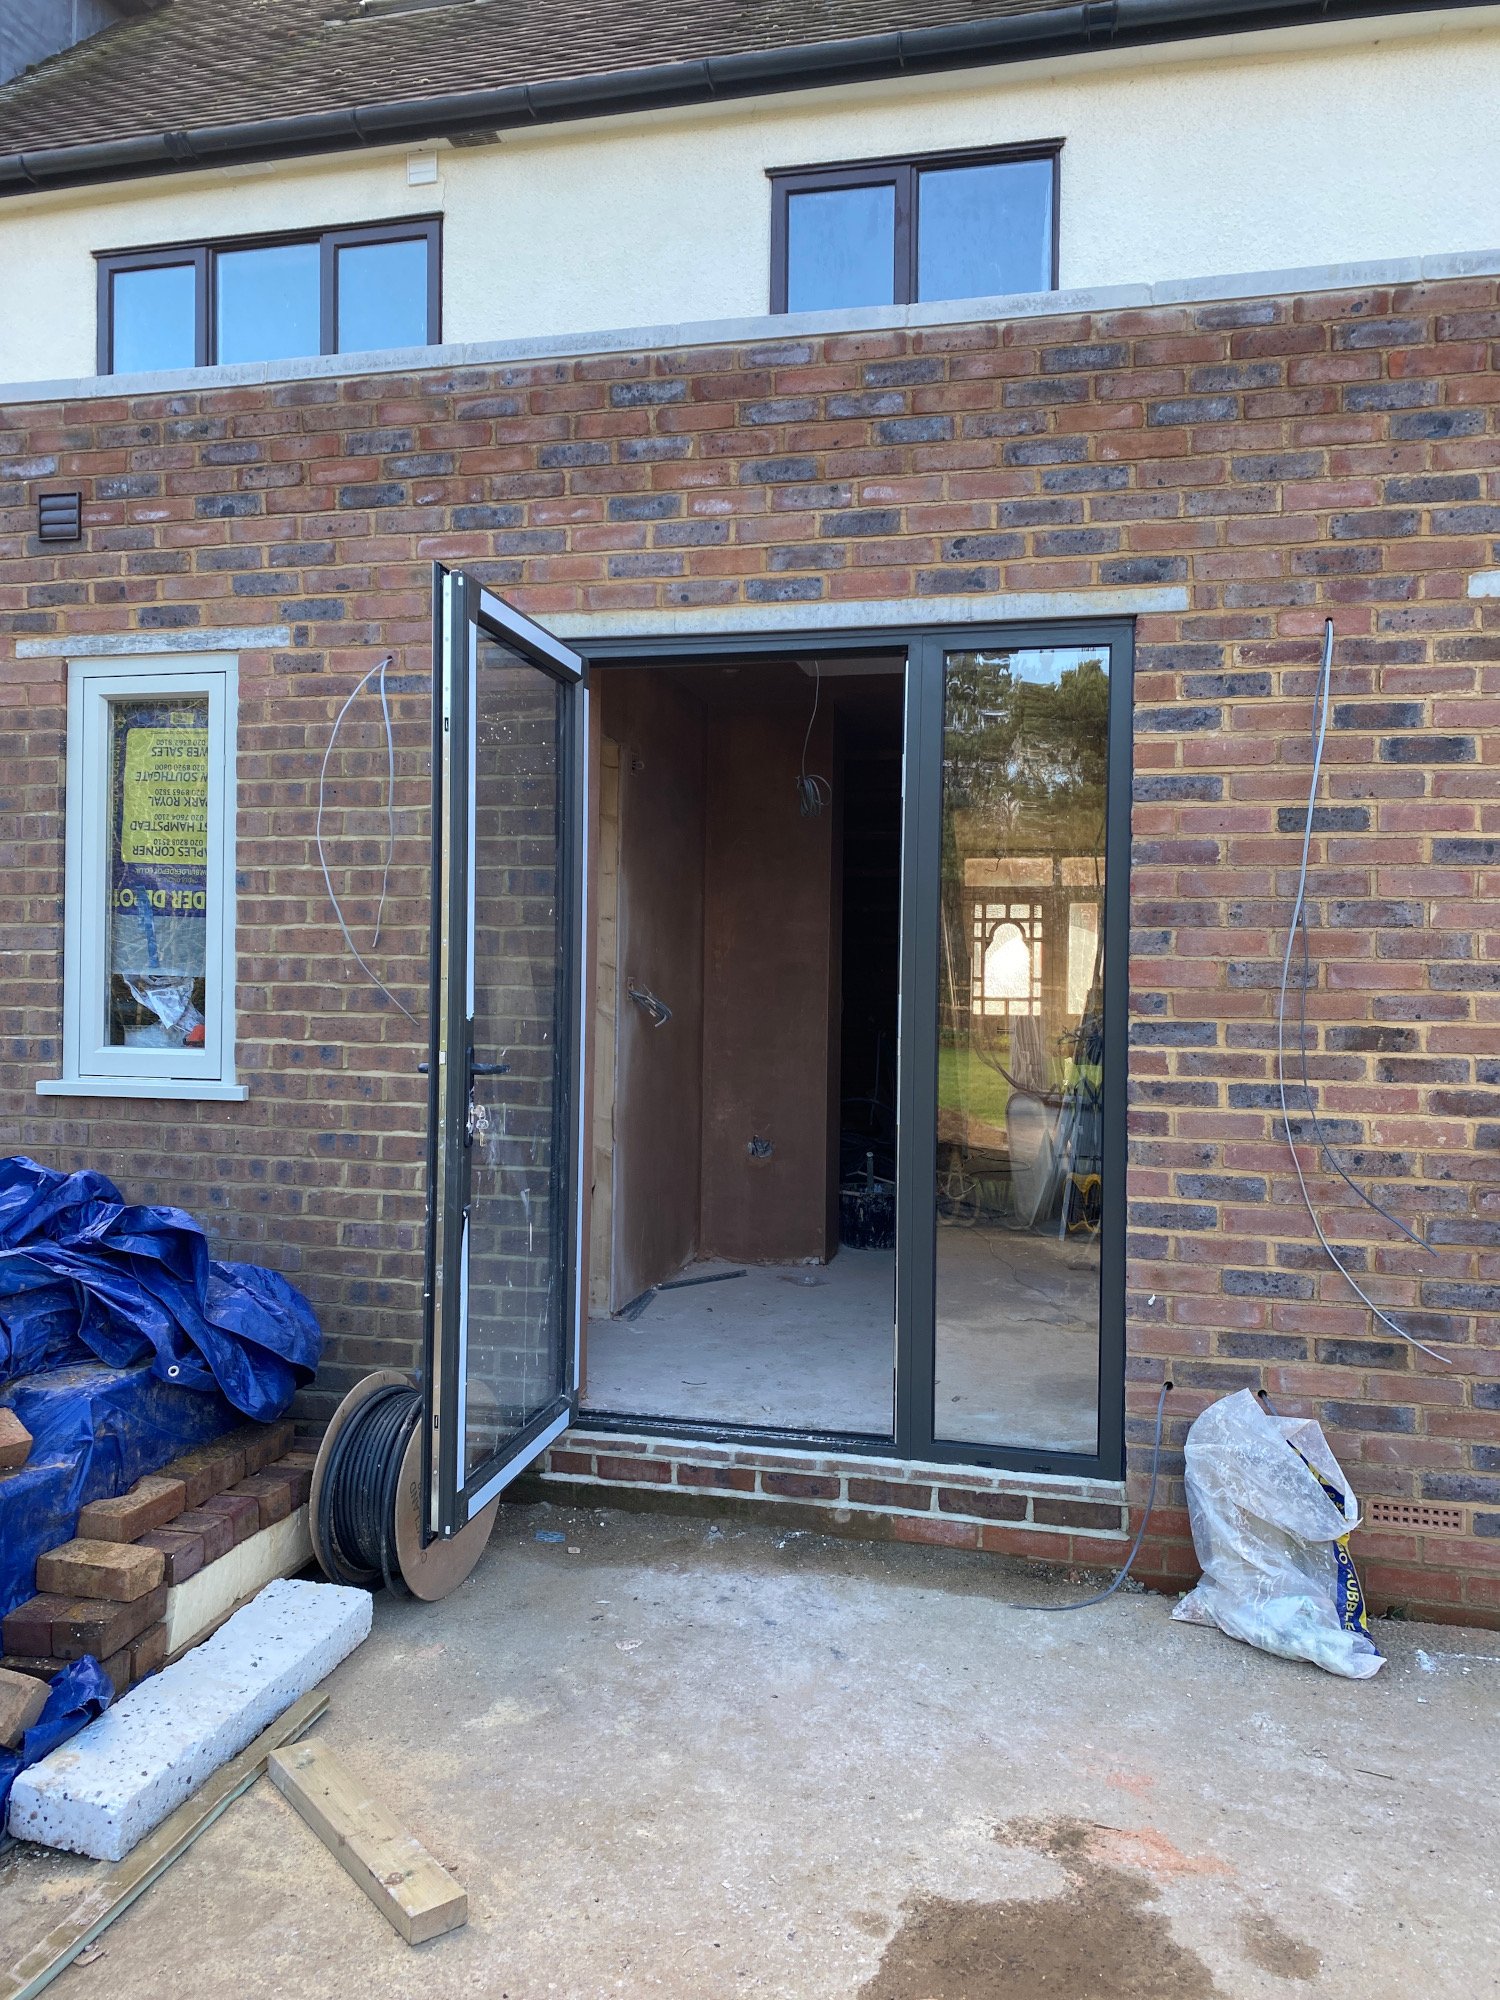
We also got our new back door installed. It matches the aluminium sliders. The back door is opposite the front door. Now when you enter the house you can see through to the garden. The back door is massive so lets in loads of light. There is a 1.2m square skylight above it too so we are not short of light in the hall area any more.
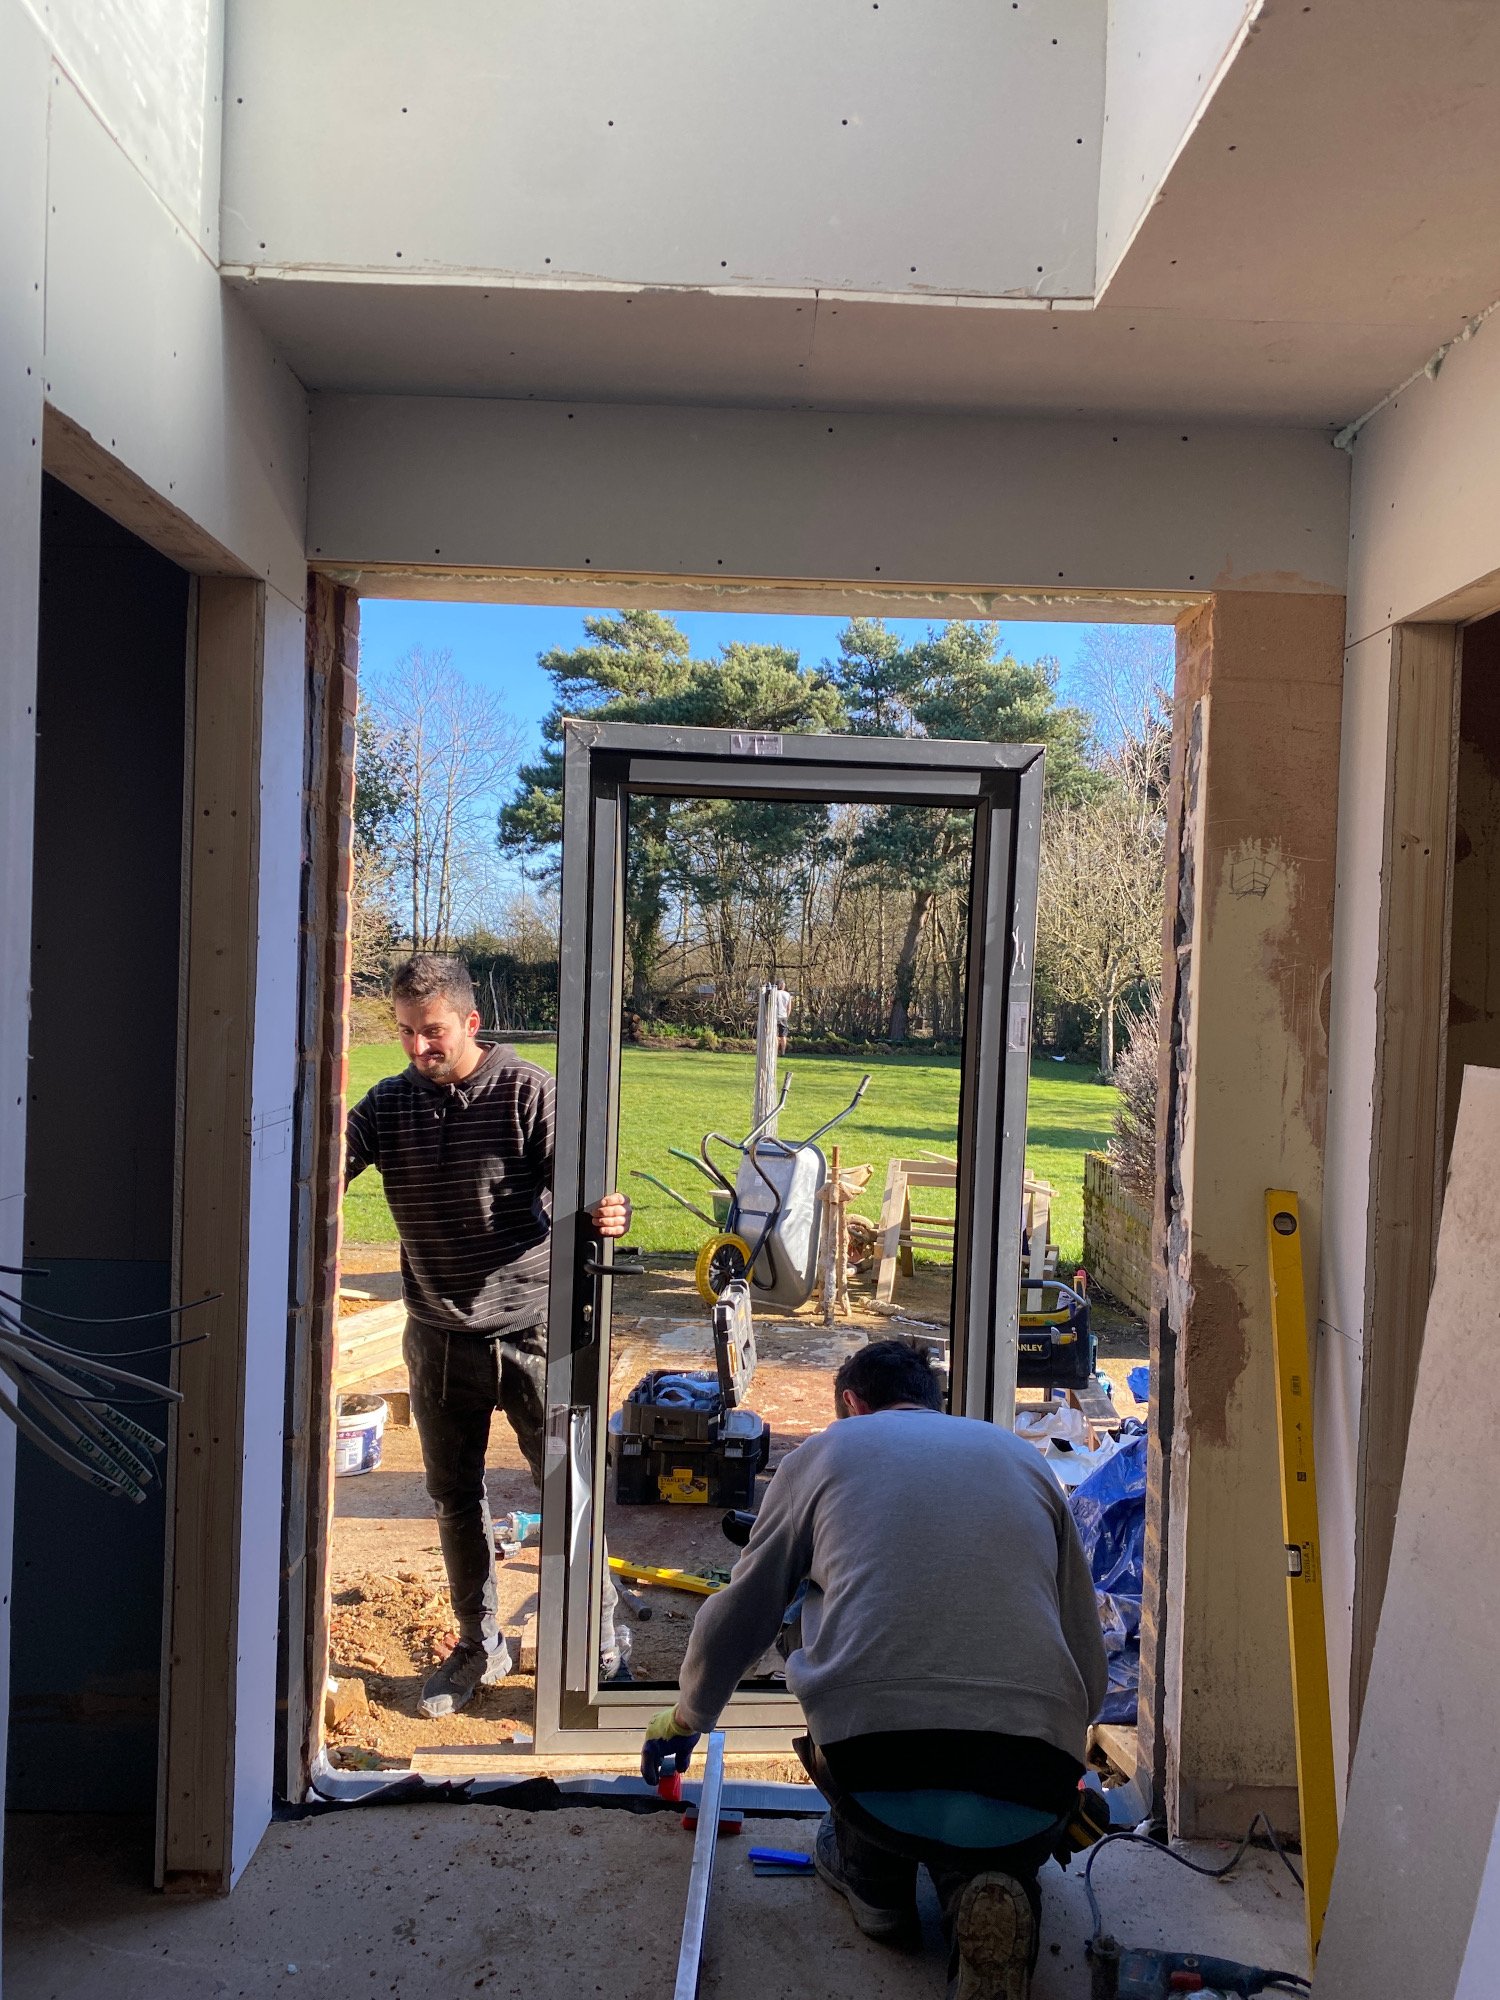
The new back door is being installed

The 1.2 meter square skylight above the back door floods the back of the hall with light
Now with the new back door installed you can see all the way down the hall. It will be so nice to come into the front door and see straight through into the garden
The final thing that happened at the end of last week was the plasterers moved in. The house is water tight because the back door is fitted. The underfloor heating is installed so we can heat the house to dry the plaster. And now after only 4 days of solid work the entire house has turned the sunset pink of setting plaster. I’m so thankful to the team of plasterers. I’ve used them before and they are amazing. Generally laughing, really hard working, and all perfectionists. It looks fabulous chaps, thank you.

The plasterers are here!

The upstairs landing was fiddly to plaster with lots of corners. My little boy and site foreman seem very pleased with it and so am I!

After 4 full days with the team of 5 men working flat out the plastering is finished. This is the view from the front door. Through the pocket door into the kitchen-diner. Then down the hall to the new back door, and up the stairs
WEEKS 19–21